


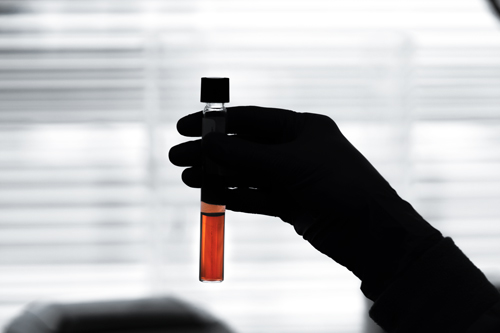


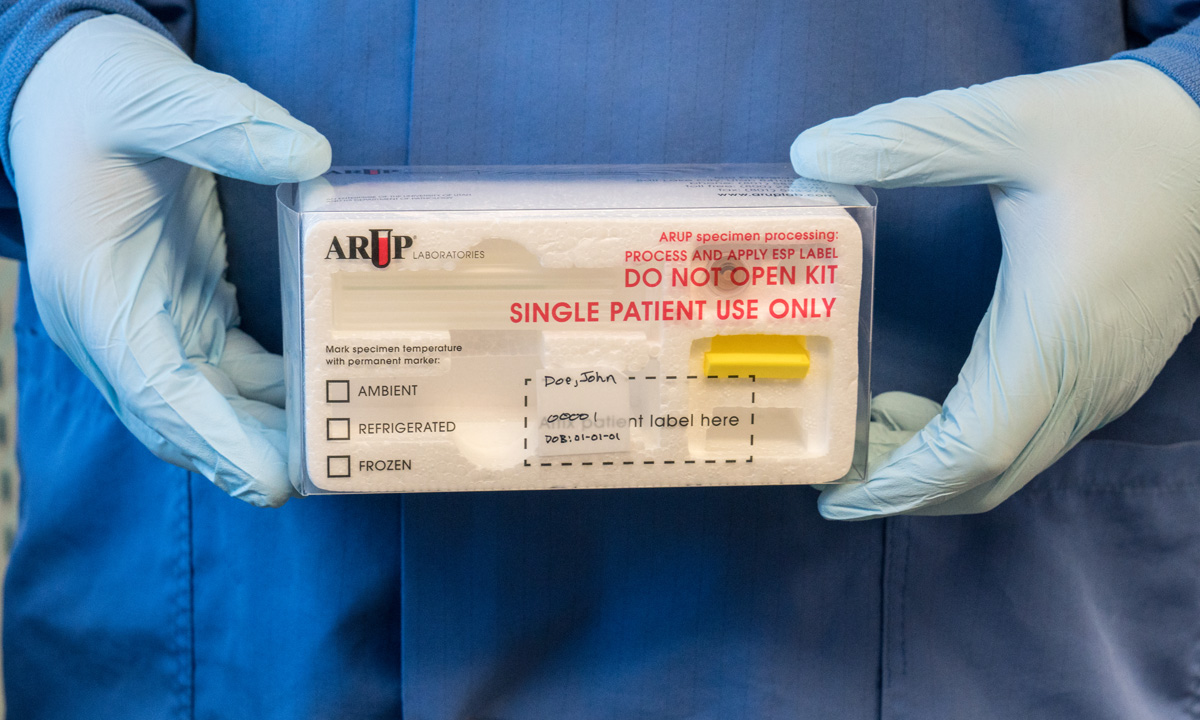
When sending DNA in a paraffin block, the world can seem delicate.
But with the right packaging, not so much. ARUP has experienced zero losses of specimens—including nucleic acid from DNA—sent in the laboratory’s specially designed carrier, the Paraffin Tissue and Extracted Nucleic Acid Transport Kit, since its development by an employee team in 2011.
“These kits truly eliminate the risk of such losses,” says David Rogers, AVP, group manager, Support Services, ARUP, who headed a team that developed the kit in 2011. Rogers worked with then-general manager of several Anatomic Pathology (AP) sections, Karen Gauna, to develop the kit.
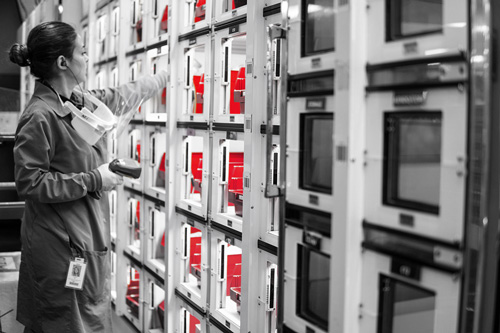
The carrier is designed to cradle paraffin blocks, slides, and other small or delicate specimen types, holding each item separately. The team also made sure the box was too large to fit through laboratories’ standard, slotted garbage-can lids.
The transport kit is so effective, it helped earn ARUP Six Sigma levels of quality in regard to lost specimens, says Rogers, who co-authored a paper in the Journal of Applied Laboratory Medicine (JALM) detailing how ARUP automation, including the kit’s development, guided the laboratory to that accreditation.
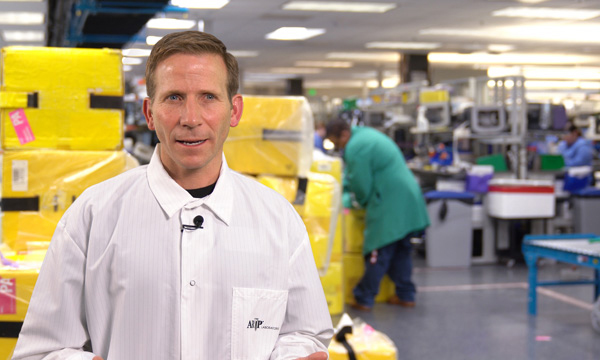
Want to see a demonstration? Check out our video.
Follow along or try it out yourself:
-
Identify the specimen you’ll need to send.
-
Review instructions on back of box.
-
For tissue section slides: Place glass slides inside provided plastic slide container.
-
Open plastic casing and pull out Styrofoam kit.
-
Insert slide container into the long rectangular slot.
-
For paraffin tissue scrolls/shaves or extracted nucleic acid aliquots: Place tube into one of the circular holes in the Styrofoam.
-
Block submissions: Place each in an individual block slot.
-
Put the Styrofoam insert back into the clear plastic sleeve.
-
Place patient ID label in the designated space on top of the clear plastic sleeve.
-
With a marker, check transport temperature section located on the clear sleeve.
-
Once finished, place prepared container into specimen bag and seal the ziplock section. Place completed ARUP requisition into the outer sleeve of the specimen bag, and place completed bag into the appropriate storage temperature for pickup.
-
OK, ready to send!
Catherine Arnold, Science Communications Writer
Related blog
"Journey of a Specimen, Specimen Receiving: #2 of Our 6-Part Video Blog"