Edit account
- Go to User Administration > User Management.
Note: You are prompted to verify your account with email authentication. Follow the on-screen instructions to complete this process. The authentication email goes to your account recovery email address.
- Find the user's account, and select the user's edit icon
 .
.
- Go to the Profile tab.
- Edit any fields, and select Save.
-
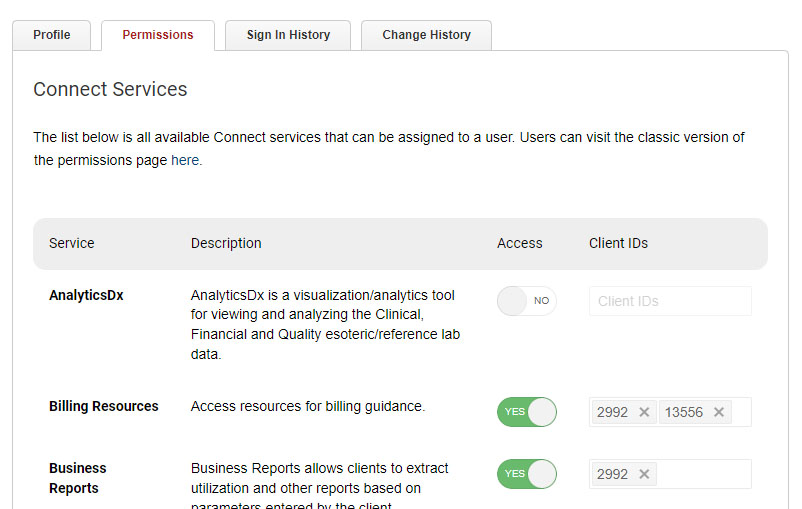
Go to the Permissions tab.
-
Enable a service for the user by switching the service's toggle key to Yes and then adding client ID(s) in the Client IDs field. Some services require you to select a report format (such as PDF, XLS, etc.) or additional settings related to the service before you can save.
-
Remove a service by switching the service's toggle key to No.
-
In the Administrator Rights section, if the new user will be a user administrator, switch the toggle key to Yes and then add client ID(s).
-
-
Select Save Changes at the bottom of the page.
Note: If the eExcept service toggle key is unavailable, you can request access by selecting Request Access next to the service name. A dialog box opens with the estimated time before ARUP will contact you and complete the subscription process.
You can reset multifactor authentication for a user who previously used a form of multifactor authentication other than email (for example, Okta Verify, Google Authenticator, or SMS). After multifactor authentication has been reset, the user is automatically set up for email authentication only.
-
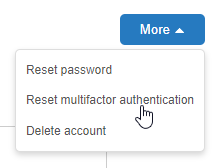
Select the More menu.
-
Select Reset multifactor authentication.
When the user accesses a User Administration page, they are prompted to use email authentication.