Modify settings
From the Settings tab, you can select the corresponding tab and modify any of the following categories.
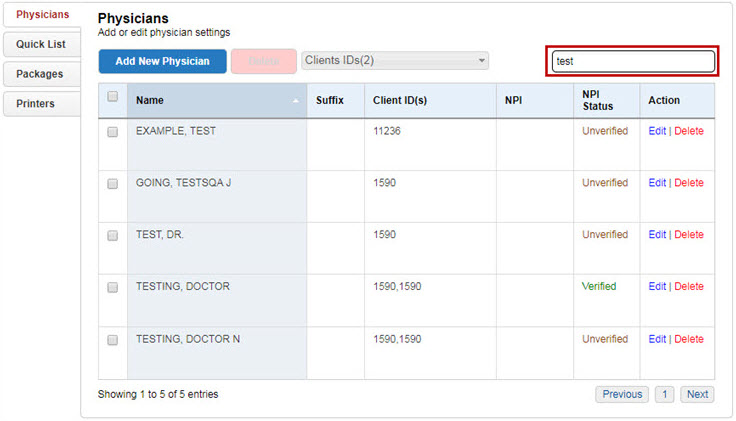
The Physicians tab is used to view, add, edit, and delete Physicians for each Client.
National Provider ID (NPI) verification is also required on the Physicians tab.
View a physician
Select the applicable client(s). All physicians that have been entered for the client(s) number will be displayed in the table.
You may sort the table by selecting a column heading. Select the column heading once to sort in ascending order. Select again to sort in descending order.
To narrow your search results, filter the physician list.
Filter physician list
- Select the applicable client(s).
- Narrow your results by entering criteria in the filter field. You may filter by any of the criteria displayed in the table.
- Press Enter. The list will display results containing the text that you entered.
To view the physician list without a filter, clear the filter field and press Enter.
Add a physician
First filter the physician list to verify the physician is not in the system.
Note: Physicians must be added to each client individually.
- Select the applicable client.
- Select
 .
. - Enter the new physician’s information. Last Name and First Name
are required.

Note: The First Name, Middle Name, Last Name, and Suffix fields have the following character limits.
- First Name field = 30 characters
- Middle Name field = 30 characters
- Last Name field = 100 characters
- Suffix field = 10 characters
- Select
 .
.
Select Cancel to return to the previous screen.
NPI verification
Web Order Entry verifies that the NPI entered into the NPI field is in a valid, ten-digit numeric format, and that it matches the physician listed.
NPI verifying
After saving a physician successfully, if the system is unable to verify
the NPI value, the following error message displays: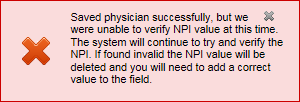
NPI validating
If the NPI entered in the NPI
field is invalid and you attempt to save the physician on the Physicians
tab, the following prompt displays under the NPI
field: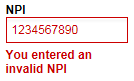
The NPI must:
- Be a ten-digit number
- Start with a "1" or "2"
Enter a valid NPI in the NPI field and select Save Physician to proceed.
NPI matching
If the NPI entered on the Physicians tab does not match the physician
listed, the following error message displays: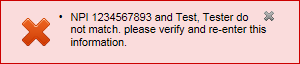
Verify that you have the correct NPI, re-enter the NPI, and select Save Physician to proceed.
Edit physician information
- Select the applicable client.
- Filter the Physician List to find the physician.
- In the Action column of the row containing the physician you want to edit, select the Edit link.

- Edit the applicable field(s).
- Select Update Entry.
Select the X in the upper-right corner to close the screen.
Delete a physician
- Select the applicable client.
- Filter the physician list to find the physician.
- In the Action column of the row containing the physician you want to delete, select the Delete link.

Note: If you need to delete multiple physicians, select the checkbox next to each physician name and then select Delete at the top of the list.
- Select Yes, delete physician.
Select the X in the upper-right corner to close the screen, or select No, keep physician to continue without deleting the physician.
Use the Quick List tab
to create and maintain a list of frequently used tests or to enter an alternate name for a test in the system.
This list is accessible when ordering tests through the Order Entry screen.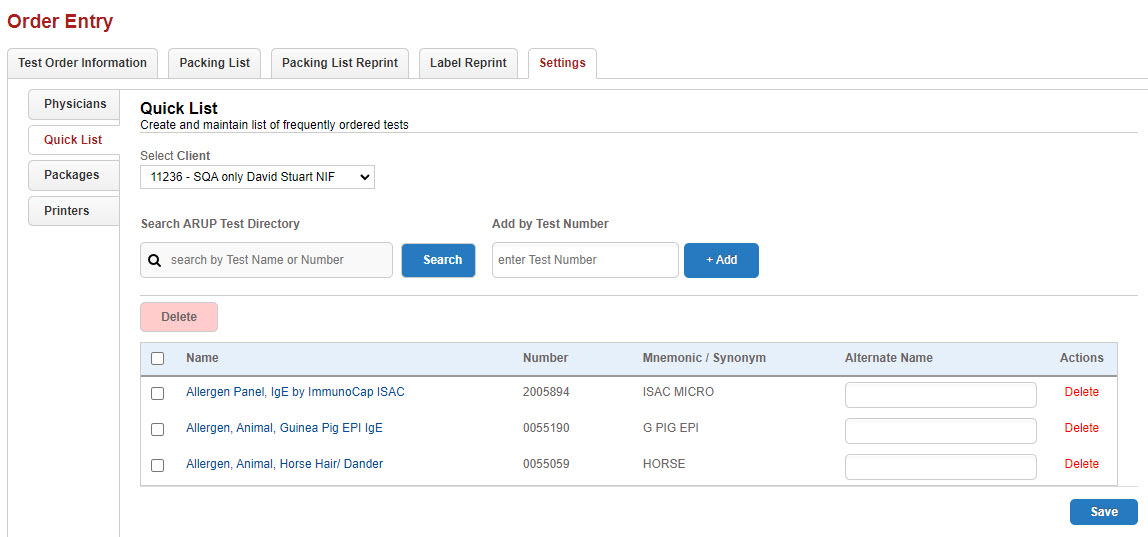
Create a quick list
- Select the applicable client(s) for the quick list from the Client drop-down.
- You can search for and add tests in the Search ARUP Test Directory field. See Add tests using Test Directory for additional information. Or you can enter the exact test number in the Add by Test Number field and select +Add.
- Select Close when you are finished adding tests.
- Enter an alternate name for each test in the Alternate Name field, if applicable.
- Once you are finished with the quick list select Save. This list is accessible from the Order Entry screen.
Delete tests from a quick list
Delete a single test
- Select Delete next to the test. The following message displays.

- Select Yes, delete test to remove the test. Select No, keep test to keep the test in the quick list. You can also select the Esc key to close the message without making a selection.
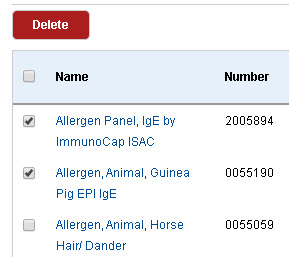
Delete multiple tests
- Select checkboxes next to the tests you want to delete.
- Select Delete above the test list.
The following message displays.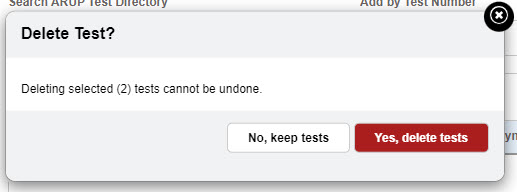
- Select Yes, delete tests to remove the tests. Select No, keep tests to keep the tests in the quick list. You can also select the Esc key to close the message without making a selection.
Inactive tests
If a test that was previously added to the quick list becomes inactive, the test will be greyed out in the list. You can delete the test from the list.
Use the Packages tab to create custom lists or packages of commonly grouped tests. This list is accessible when ordering tests through the Order Entry
screen.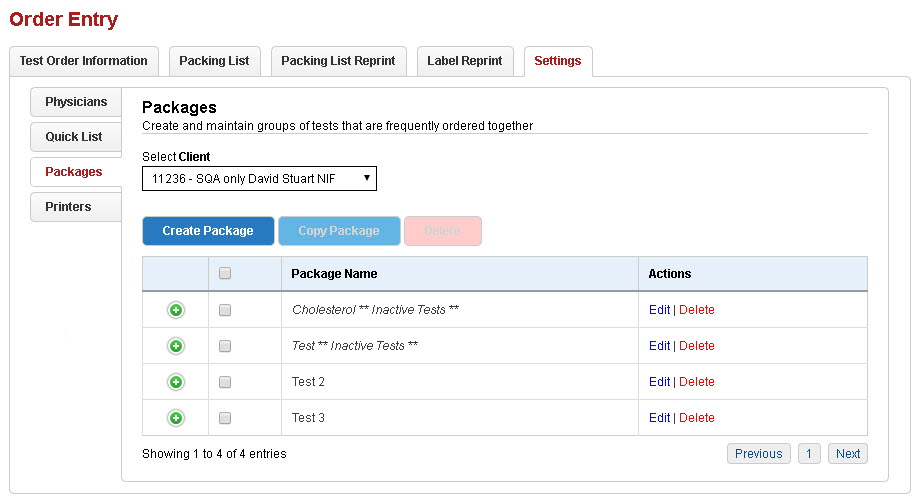
To view test packages that have already been created for a client,
select the applicable client from the drop-down menu. Select to view the list of tests included in the package.
Create or edit a package
- Select the applicable client from the drop-down list. Packages that you create are associated with the client number that you choose.
-
Select Create Package to create a new test package. Select Edit to edit an existing package.
Tip: You can copy an existing package from one client to another to save time. Just select the checkbox next to the package you want to copy and select Copy Package. In the dialog box select the client for the copied package and then Save.
- Enter the name of the test package by typing it in the Test Package Name field.
- Select and add the applicable tests. See add tests for additional information
- Once you are finished creating/editing the package select Save.
Remove a test from a package
You may remove a test by selecting Delete
next to the test name. The following message displays.
Select Yes, delete test to remove the test. Select No, keep test to keep the test in the package list. You can also select the Esc key to close the message without making a selection.
Delete packages
Delete a single package
- To delete a package in its entirety, select Delete
next to the package name. The following message displays.

- Select Yes, delete test package to remove the package. Select No, keep test package to close the message without removing the package. You can also select the Esc key to close the message without making a selection.
Delete multiple packages
- Select checkboxes next to the packages you want to delete.
- Select Delete above the package list.
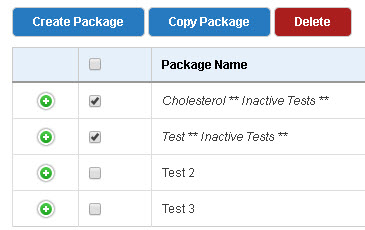
The following message displays.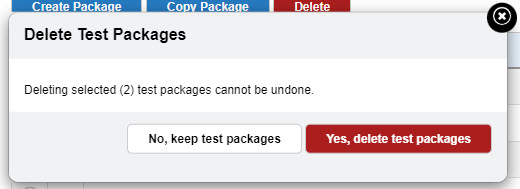
- Select Yes, delete test packages to remove the packages. Select No, keep test packages to close the message without removing the package. You can also select the Esc key to close the message without making a selection.
Remove inactive test(s)
If a test contained within an existing package becomes inactive, the
package name will contain the words, **Inactive
Tests**. Selectto expand the list. The inactive test will appear greyed out. 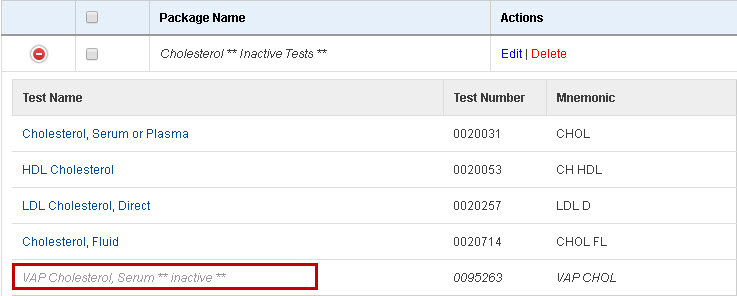
To remove the inactive test:
- Select Edit to open the Create/Edit Package page.
- Select Delete next to the inactive test.
- Select Yes, delete test on the dialog box.
- Select Save to save the changes to the package.
Use the Printers tab
to enable label printing and select label printer(s). Printers must first be added to your computer through
Windows printer setup in order to be available in the printer list.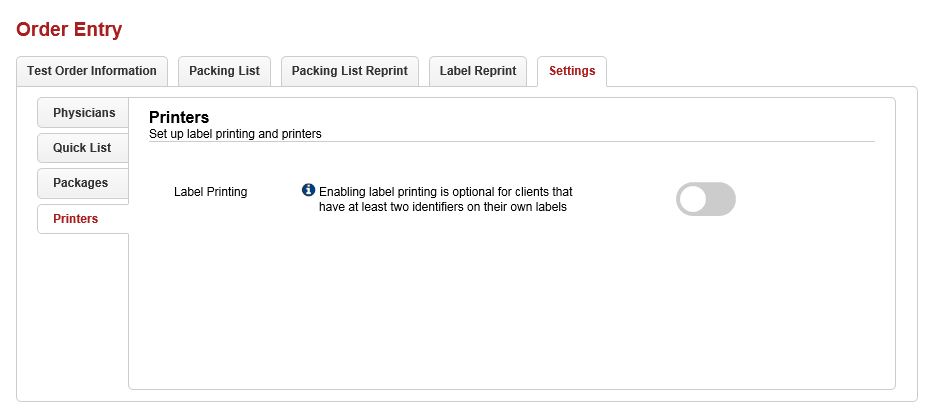
Note: Additional software is required for label printing. You must download the WebClientPrint Processor (WCPP.msi) file to enable label printing in Order Entry. See Printer Setup for information on downloading WCPP.
Enable label printing
- Turn on the
Label Printing toggle. By default, the toggle is off.
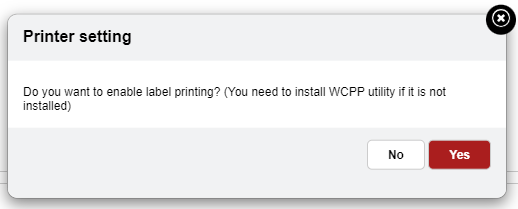
- The Printer setting
dialog box displays. Select Yes to enable label printing, or No to cancel.
- Order Entry runs
a software check for the WCPP software and loads the installed printers. If your computer does not yet have the WCPP software installed, see Printer
Setup.
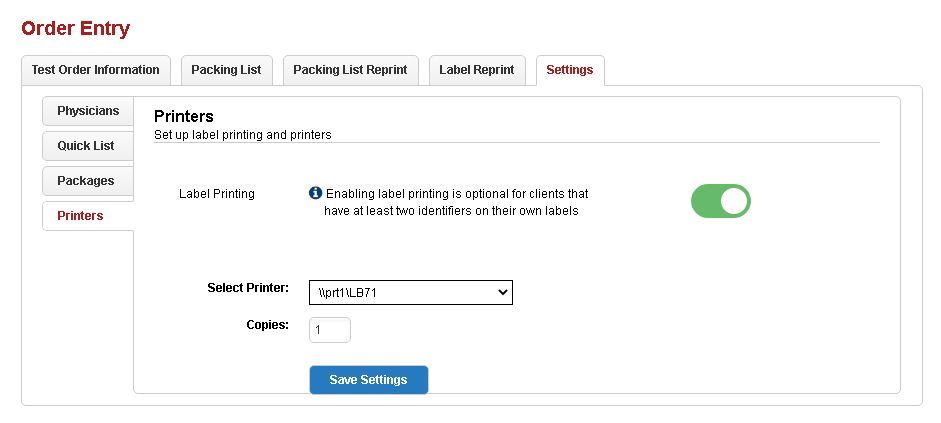
- From the Select Printer drop-down menu, select your label printer and enter how many copies you want in the Copies field. (Currently the Zebra LP 2824, Zebra ZD410, and Zebra 2824Plus printers using thermal print labels size 2.25" X 1.25" are supported.)
- Select Save Settings.
Printer setup
Additional software is required for label printing. Follow the directions below to download the WCPP software and finish setting up your printer.
- Select Settings > Printers and turn on the Label Printing toggle.
- Select Yes.
- Use the instructions and link provided in the Additional software is required for label printing section.
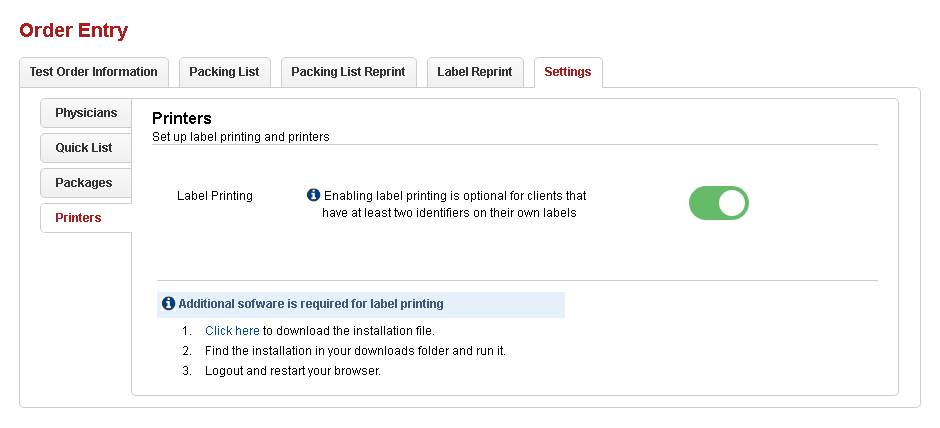
- You can now select your printer, number of copies, and save your printer settings by selecting Save
Settings.
Note: If the printers do not load, make sure that printers are installed on your machine and refresh your browser.