Clinical Trials and PharmaDx
On the CT/PharmaDx tab, you can export Clinical Trials and PharmaDx test data and generate charts.
- In the Search Records area, complete any of the fields on the form. Form tips:
- In the Sample ID field, enter all or part of the patient's name. If entering the first and last name, separate them with a comma (for example: Smith, Jennifer).
- In the Study ID field, enter any of the following: FIN/Visit #, MRN, Accession, or Patient ID.
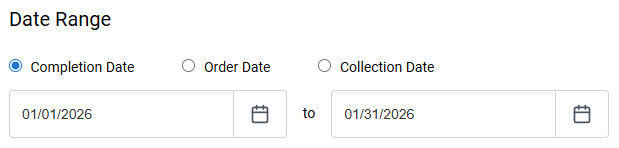
- For Date Range, select a date option and then a range of dates for that option. For example, if you select Completion Date and 01/01/2026 - 01/31/2026 for the range, the results will show all clinical trials tests that had a completion date in January 2026.
- Select Search
 . The search
results appear in the lower portion of the page.
. The search
results appear in the lower portion of the page.
Search results appear in the Clinical Trials area in the lower portion of the page.
- To filter the results by order type, select Interface Orders or Manual Orders in the Order Type drop-down menu.

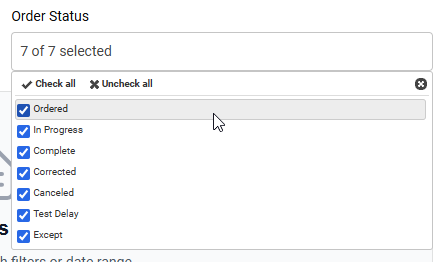
- To filter the results by order status, select or clear checkboxes in the Order Status drop-down menu.
- To remove or add columns, select Customize View
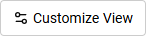 and select or clear checkboxes in the Customize Table View dialog box. Select Apply Changes.
 - To change the column order, select a column and drag and drop it to a new location.
- To reset the columns, select Default Layout
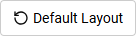 .
.
After searching for and filtering results, you can do the following:
- Use the horizontal scroll bar at the bottom of the results to view all columns.

- Use the Rows per page drop-down and page number buttons to view more results.

- Select the links in the Orderable Test Name or Orderable Test Number columns to view the tests in the ARUP Laboratory Test Directory (LTD).
- In the Chart Notes column, select View Notes
 to view patient chart notes in the Chart Notes dialog. In the Chart Notes dialog, select Copy to Clipboard
 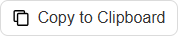 to copy the notes.
After completing a search, you can export completed results to an Excel file.
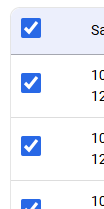
- In the search results in the lower portion of the page, select the checkboxes for the results you want to export to an Excel file. To select all results, select the checkbox in the header.
- Select Export to Spreadsheet
 and follow your browser's prompts to save the file.
After completing a search, you can generate PDF charts.
- In the search results in the lower portion of the page, select the checkboxes for the results you want to include in the charts. To select all results, select the checkbox in the header.
- Select Generate Charts
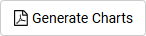 . Select Okay in the Bulk Export notification pop-up.
 - In the email you receive, select Your Charts are Ready to Download to download the PDF charts in a zipped folder.
If you're logged into Connect, your browser prompts you to save the download. If you're not already logged in to Connect, you are taken to the log in page after selecting the link in the email. After logging in, the CT/PharmaDx tab opens, and your browser prompts you to save the download.