![]() ARUP Order Entry Help
ARUP Order Entry Help
![]() ARUP Order Entry Help
ARUP Order Entry Help
The Packages tab is used to create custom lists or packages of commonly grouped tests. This list is accessible when ordering tests through the Order Entry screen.
To view test packages that have already been created for a client number, select the applicable client from the drop-down menu.
|
Click to view the list of tests included in the package. |
|
Click to edit a package. To edit an existing package, see instructions below. |
|
Click to delete a package. |
Select the applicable client from the drop-down list. Packages that you create are associated with the client number that you choose.
Click Create Package
to create a new test package. Click Edit
to edit an existing package.
Tip: You can copy an existing
package from one client to another to save time. Just select the check
box next to the package you want to copy and select Copy
Package. In the dialog box select the client for the copied
package and then Save.
Enter the name of the test package by typing it in the Test Package Name field.
Select and add the applicable tests.
See Add Tests for additional information.
Once you are finished creating/editing the package click Save.
You may remove a test by clicking Delete next to the test name. The following message will appear.

Select Yes, delete test to remove the test. Select No, keep test to keep the test in the package list. You can also select the Esc key to close the message without making a selection.
Delete a single package

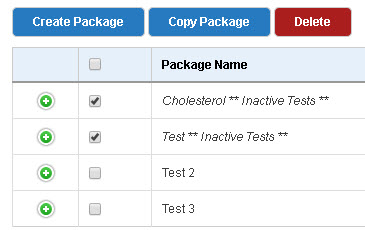
Delete multiple packages
Select check boxes next to the packages you want to delete.
Select
Delete above the package list.
The following message displays.
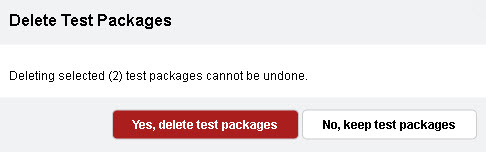
Select
Yes, delete test packages
to remove the packages. Select No,
keep test packages to close the message without removing the
package. You can also select the Esc key to close the message without
making a selection.
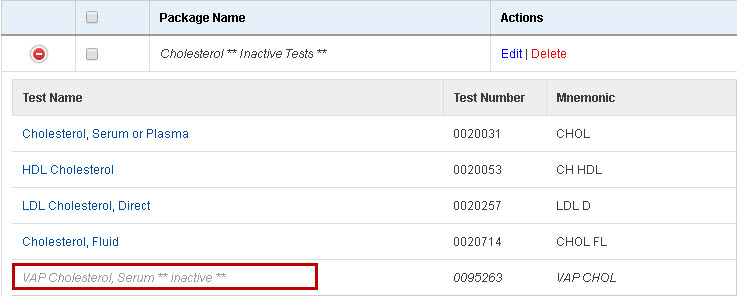
If a test contained within an existing package becomes inactive, the
package name will contain the words, **Inactive
Tests**. To view the tests contained on list, click  to expand the package list.
The inactive test will appear greyed out.
to expand the package list.
The inactive test will appear greyed out.
To remove the inactive test:
Click Edit to open the Create/Edit Package page.
Click Delete next to the inactive test.
Click Remove Test on the Remove Test dialog box.
Click Save to save the changes that you made to the package.

