Edit multiple tests
Select Admin and Edit Tests to view all active and inactive tests in your directory and edit multiple tests at the same time.
Search
- Begin entering search criteria in the Search All Tests... field. The list filters as you type.
Tip: Search criteria can include custom fields, PDFs, and image names.
Filter
- Select the ARUP and/or Client checkboxes to include tests managed by ARUP, Client, or both.
- Select Active or Inactive to toggle which tests display in the list.

- Select the Edit Column Settings
 icon and choose Sort Ascending or Sort Descending to sort the column accordingly. You can also select the column name to toggle from ascending to descending. An arrow next to the column name lets you know the sorting direction.

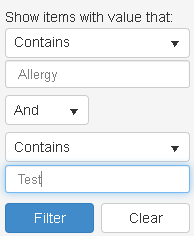
- Select the Edit Column Settings icon and then Filter to open additional filtering options for that column. Enter the desired values and select Filter.
Organize
- Select Column Chooser
 and select the columns (8 maximum) you want to display in your current workspace. Then select Apply.
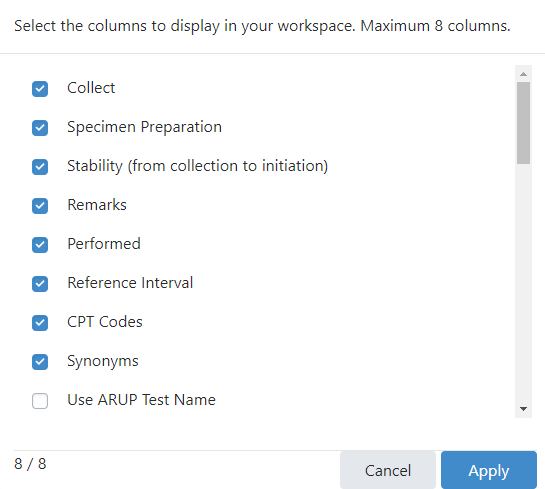
Note: Test Number and Test Name fields cannot be removed from your workspace.
- Select the Edit Column Settings icon and then Set Column Position to choose either Stick Column (column will stay in position as you scroll horizontally) or Unstick Column (column will not stay in position as you scroll horizontally).
- Select and drag any column header to another position to rearrange columns.
- Select and drag any column header divider to change the width of the column.
Caution: Changes made to the test list will not be saved after signing out of your current session.
- Select and edit test information by using one of the following methods. Fields that are grayed out cannot be edited.
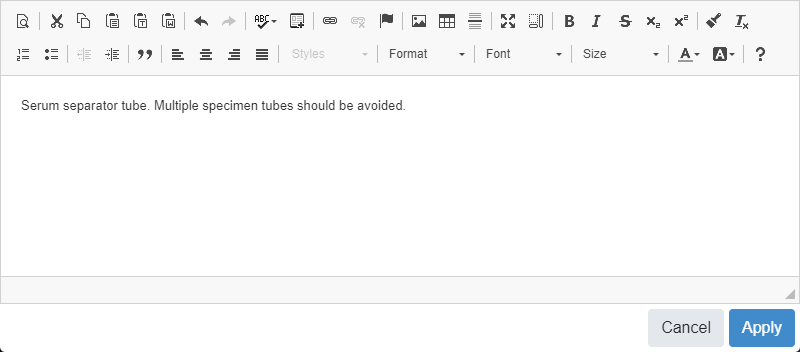
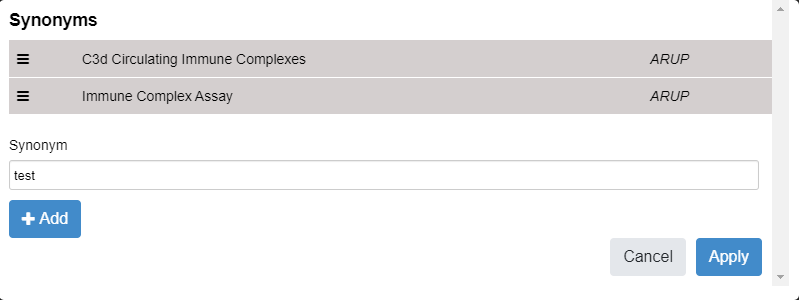
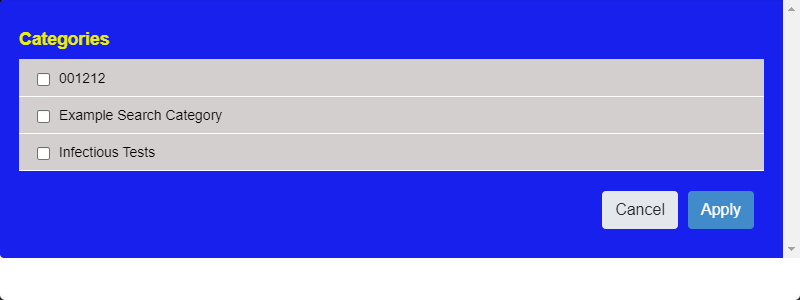
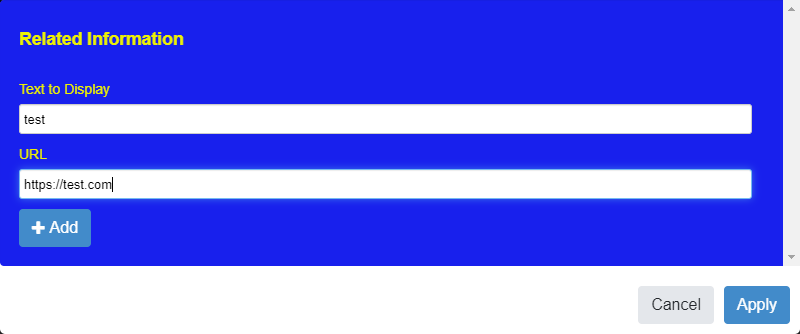
- Edit single test fields: Click in any test field and make your edits.
- Edit multiple test fields: Select the checkboxes in the left column of multiple tests and select Edit at the top. Select Apply after making your edits.
Tip: You can select the checkbox at the top of the left column to select all tests currently displaying in the Edit Tests list.
Editing functionality varies depending on the field you select. See the table below for additional information.
- Any edits with validation errors display at the top of the list. Select Fix Errors to view and resolve any errors. If no errors display, go to step 3.
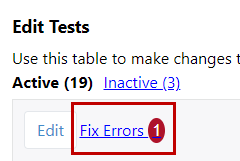
Note: All edits are validated by the system and any errors need to be resolved before moving to the next step.
- Select Review Edits
 above the test list or Review Edits
  below the test list.
 - Review your test edits. If you want to remove an edit, select Delete.
- Select Submit.
- In the Effective Date field, select a date for the test edits to become active.
- In the Comments area, add any comments for the test edits.
Note: Depending on your current Gateway settings, adding comments may be unavailable, optional, or required.

- Select Publish. A confirmation displays once your edits save successfully.